- Published on
- 1444 words
Installing Kali Linux to a USB drive with a persistent volume via the command line
Installing Kali Linux to a USB drive with a persistent volume via the command line
There are a few guides on installing Kali Linux to a USB drive with a persistent volume out there, not least the offical guide. Here's my slightly updated version. This assumes you are using a Linux terminal (I'm on Ubuntu Linux for this).
First download the Kali Linux ISO from www.kali.org/downloads - I would recommend the "Kali Linux 64 Bit", and to download via Torrent if possible to place less strain on the host.
When it's downloaded, open your terminal in the directory where you downloaded the Kali Linux ISO to, or copy the file to your home (~/) directory.
Insert your USB drive, then run the following to find out which device it is:
lsblk

Take note of the letter following sd, eg. sdc, as getting this wrong could mean doing something nasty to an existing drive on your system!

If it has automatically mounted and has a path next to part, you can unmount it using umount:
sudo umount /dev/sdc1

Note here the command is umount (not "unmount")!
Running lsblk again should now show no mount path.

Get the ISO file name by listing the ISO files in the directory:
ls *.iso

The use dd to write the ISO to the USB drive:
sudo dd bs=512k if=kali-linux-2019.1a-amd64.iso of=/dev/sdc status=progress

Now you will have a fully working live Kali Linux USB, but it won't have a persistent volume allowing you to save files to it.
To allow us to save files, update the system, etc., we need to use the free space on the USB as a persistent volume.
There are many graphical tools to do this on Linux (eg. gparted), but for this I'll use the command line and cfdisk:
sudo cfdisk /dev/sdc

Using the arrow keys on your keyboard to navigate, go to the bottom free space in the device list and select New.

Then enter again when it shows you the partition size.

Select primary as the partition type.

Then select Write.

Type yes to confirm the changes.

Then Quit.

Now we need to format the partition. We'll use EXT4 here as it's widely supported (and newer and better than EXT3):
sudo mkfs.ext4 /dev/sdc3

Next we need to tell Kali Linux to use that volume by adding a file to the new partition. First we need to mount the new partition - you can do this through your file browser by clicking on the new partition, or we can do it via the command line:
sudo mount /dev/sdc3 /media/elliot
Note here that /media/elliot is specific to my system. You could create a temporary directory and use that, eg.:
mkdir ~/temporarymountpoint
sudo mount /dev/sdc3 ~/temporarymountpoint

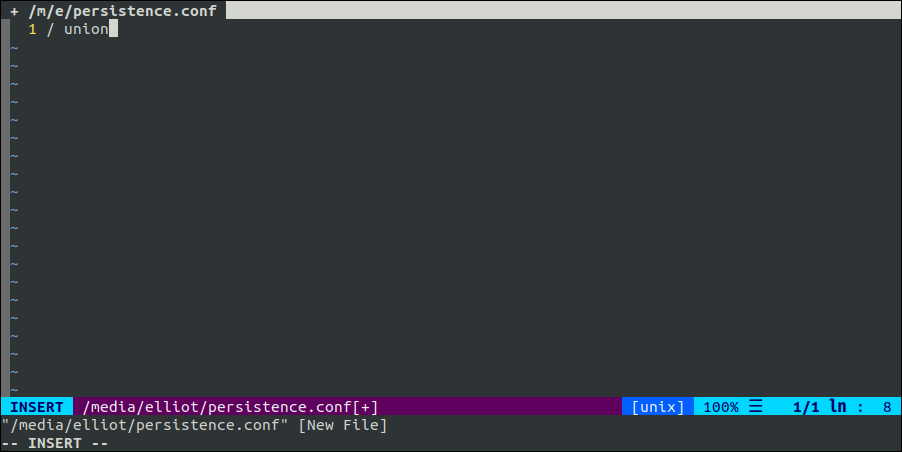
Using your favourite text editor (eg. vim, nano, or gedit), add and edit a new file on the new partition called persistence.conf:
sudo vim /media/elliot/persistence.conf

And add the following line:
/ union

Lastly, unmount the new partition before removing your USB drive:
sudo umount /dev/sdc3

Reboot your computer and select your USB drive from the boot menu, selecting Kali USB Persistence from the Kali boot screen.
Stuck on what to do? Maybe try running netdiscover and see if there are any unknown devices on your network.